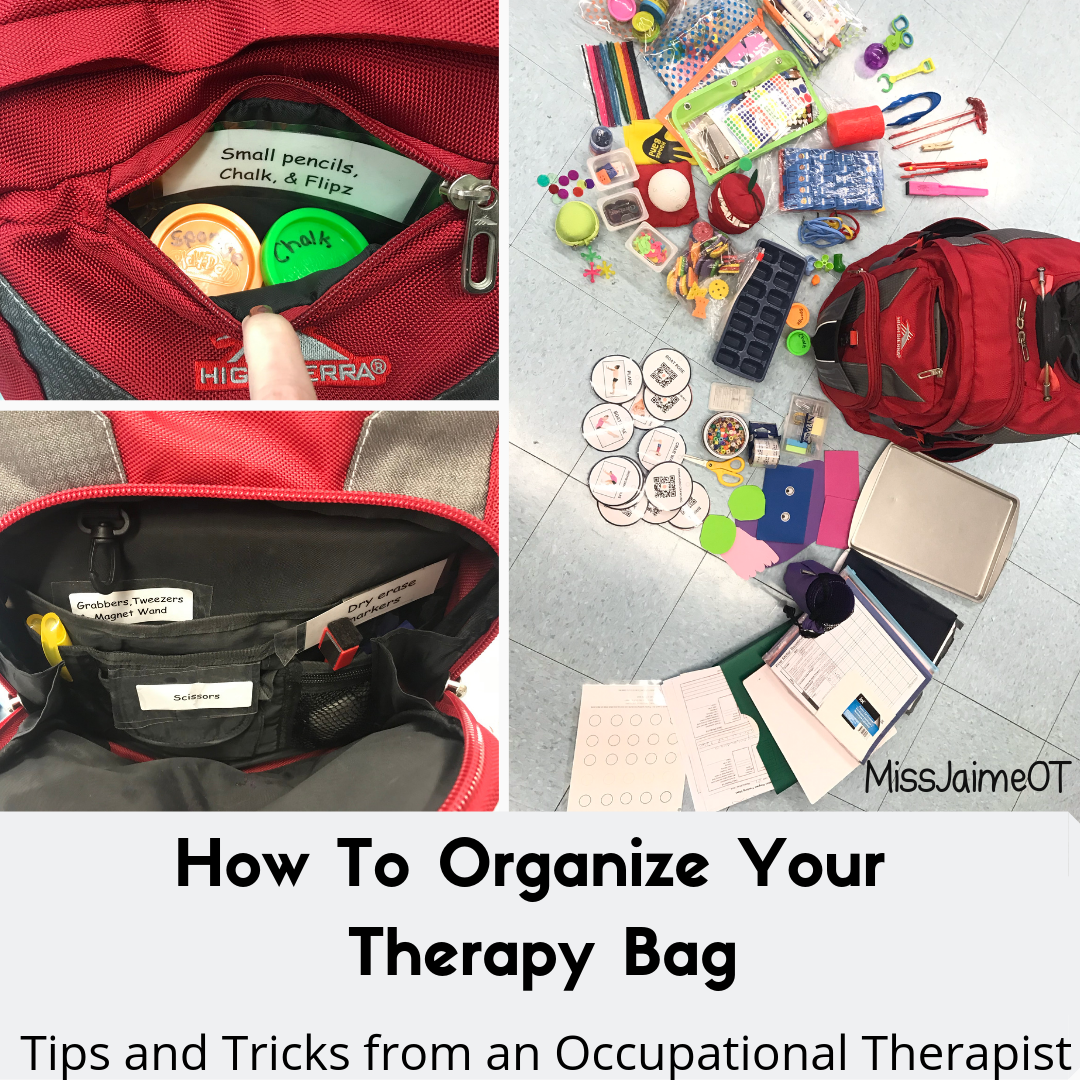
I’ve been a HUGE organization kick lately. Every month or so I need to clean out my therapy bag. Inevitably, I find things out of order, things I need to change or replace, and things that are missing pieces, etc.
I once posted a pic of the crazy amount of stuff in my bag and everyone on Facebook went crazy commenting and asking questions. I figured, why not share this “clean out” phase with all of you?

I’m also a bit obsessed with Tiny Homes. So I love things that can be used multiple ways, are miniature, and don’t take up a lot of space.
I am in the process of moving, so I’ve also been a huge labeling kick. I am really trying to turn over a new leaf when it comes to putting things back where they belong. I don’t like to waste time in a therapy session looking through my bag for “that thing” I need (and can’t find!).
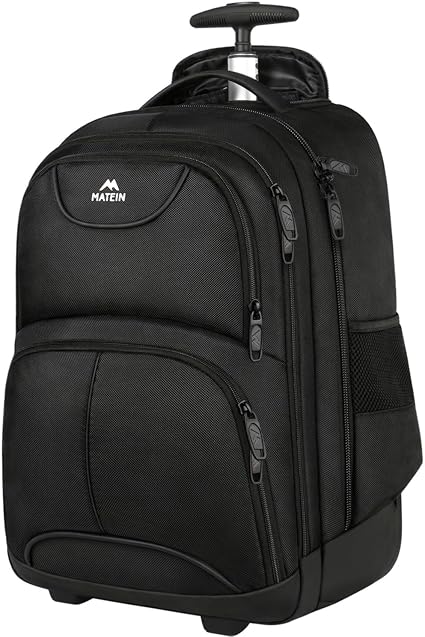
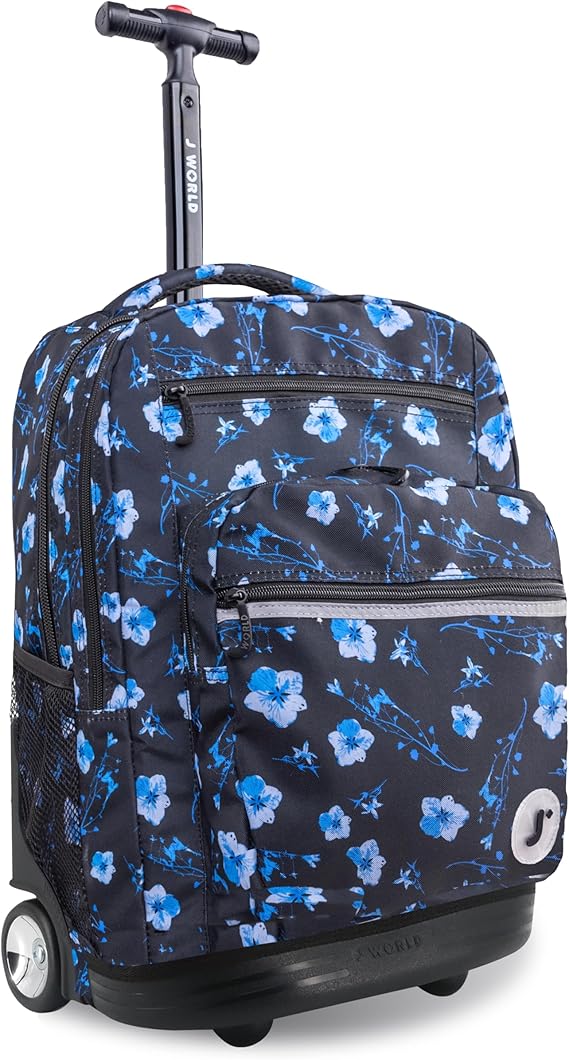
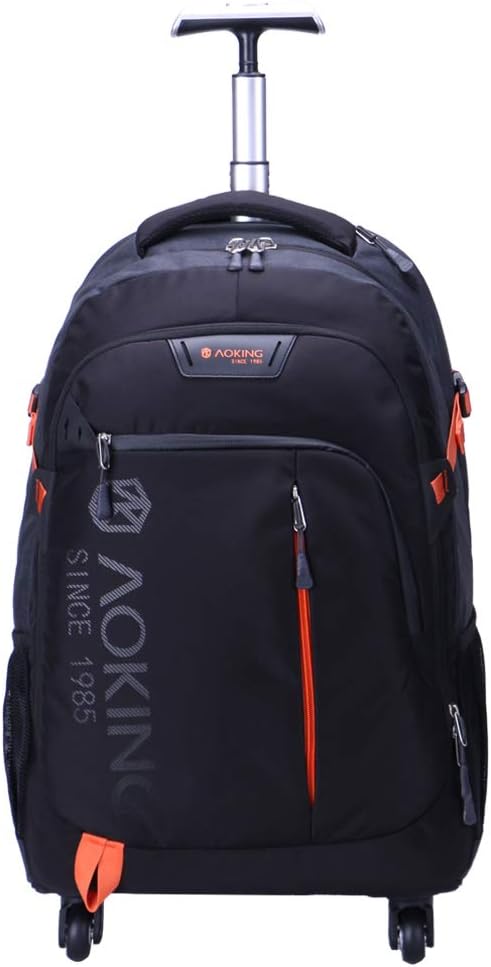
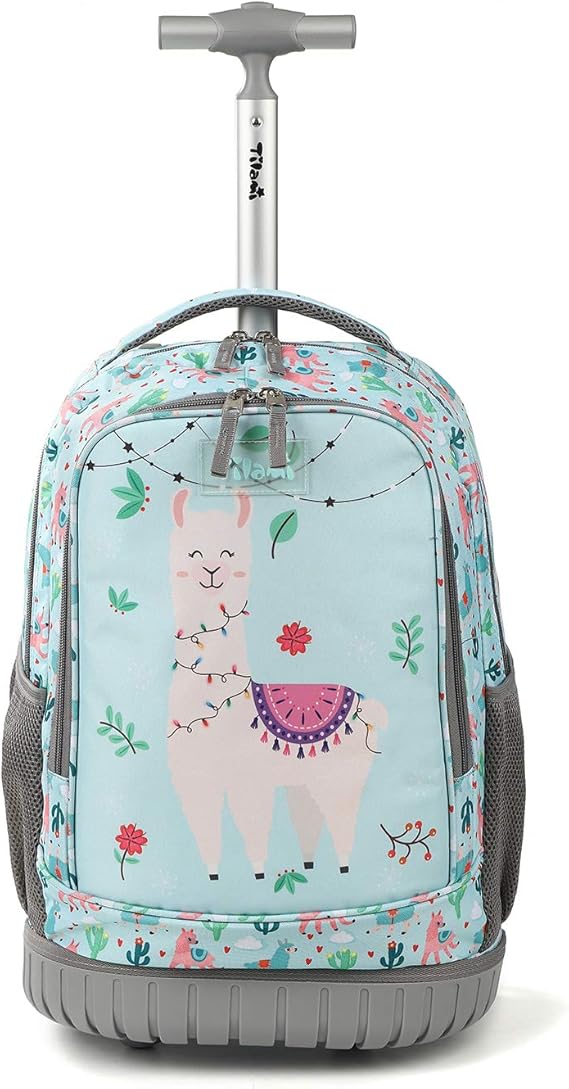
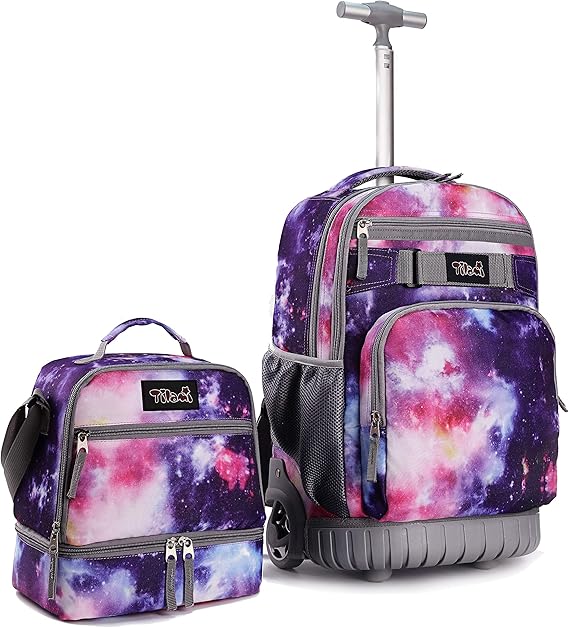
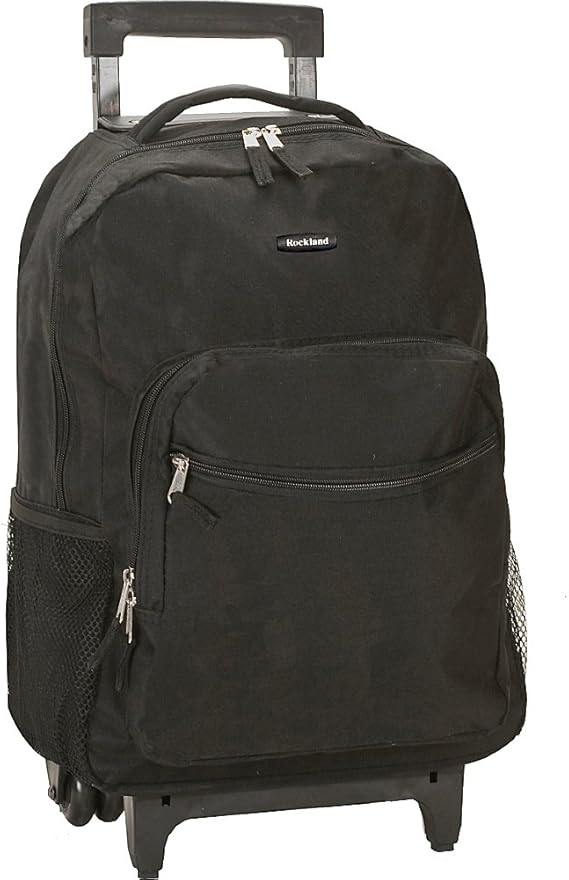
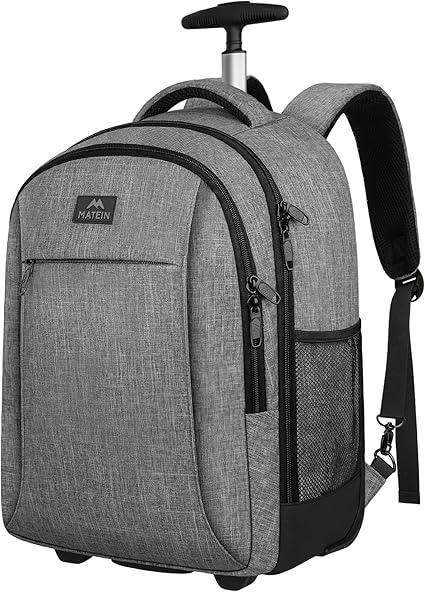
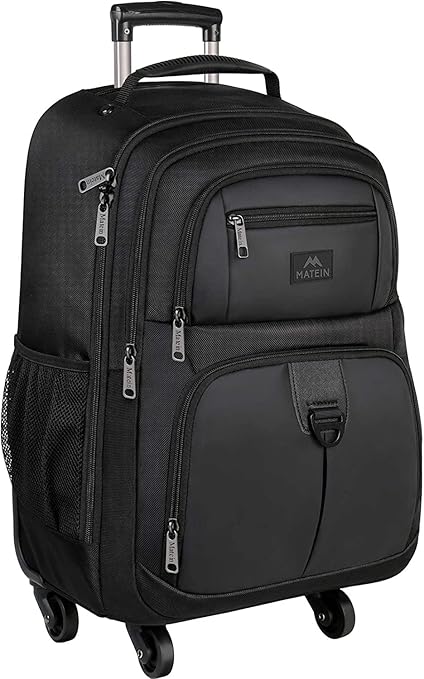
First things first, you’ve got to have a sturdy bag with a lot of compartments. I like to use a rolling backpack because:
- It’s better for your body to pull instead of carrying
- It zips closed so when I throw it in my trunk (which I always do), it won’t spill crayons and beads everywhere
- I like the laptop compartment to hold my folders for each kid
See it all in my Amazon Shop
Everything in one spot, and it doesn’t cost you a cent more to shop from my Amazon link
Shop Related Products
One thing about the rolling backpack though, is that the fabric inside is made of tough rayon-like material, so it’s hard to stick labels on. I’ve decided to relabel them with my label maker and then cover them with packing tape. Hopefully, that will stay put. (I’m obsessed with packing tape.) My latest backpack has a bunch of compartments. This is how I organize them.
The Very Back
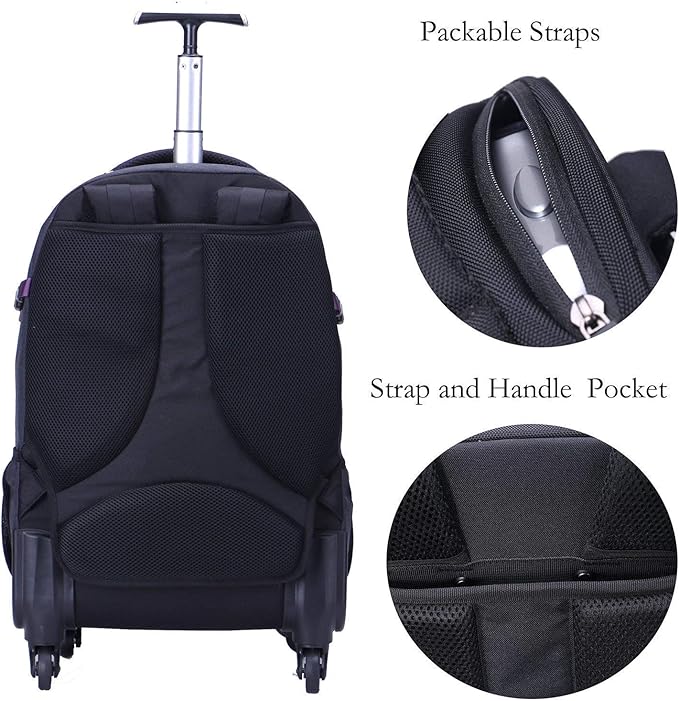
The “back” compartment is actually a zip-up spot where you can “hide” the straps of the backpack if you aren’t using them. I also use this spot to put my papers, dry erase board and cookie sheet (a traveling OT’s best friend).
See-through packets—a Must-Have!
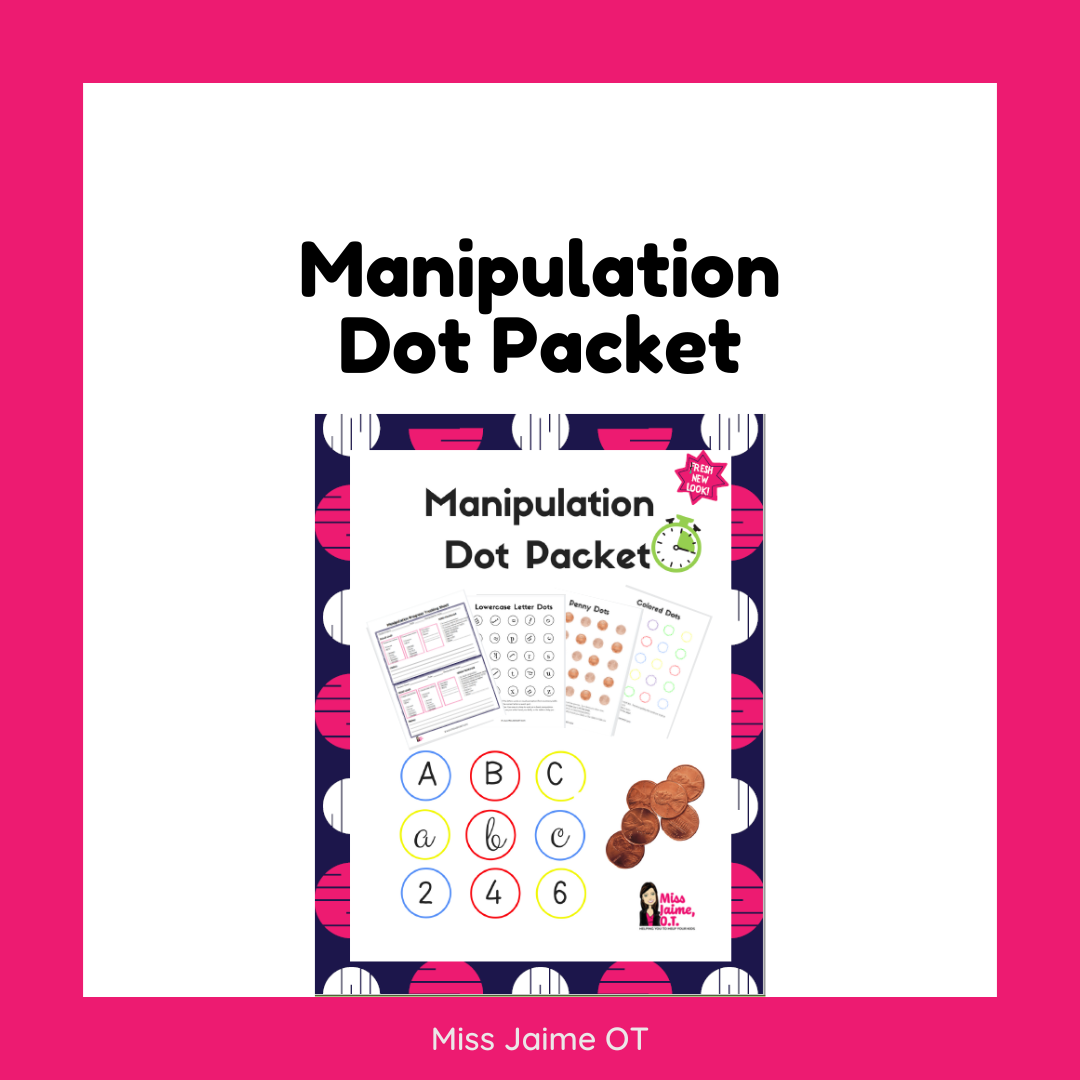
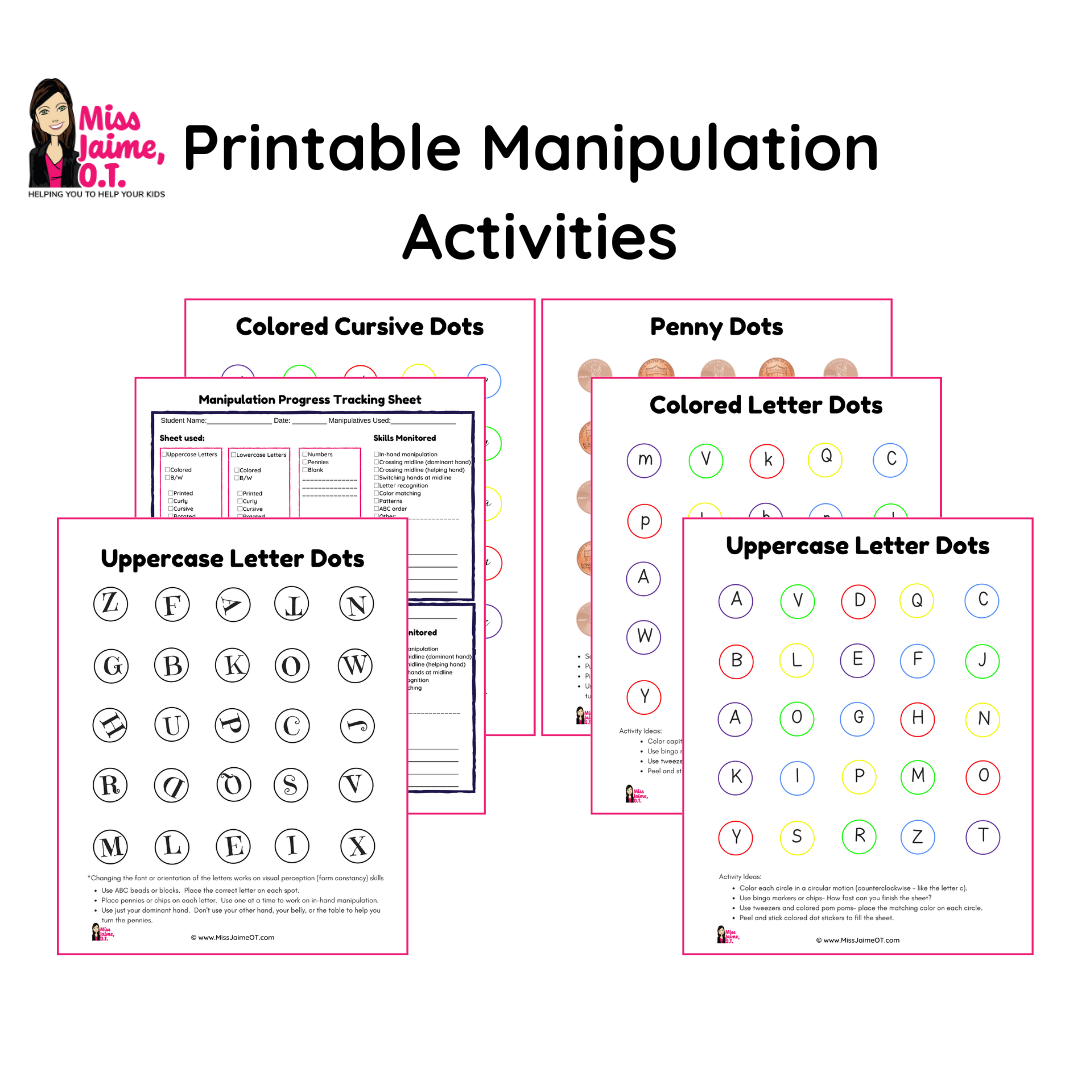
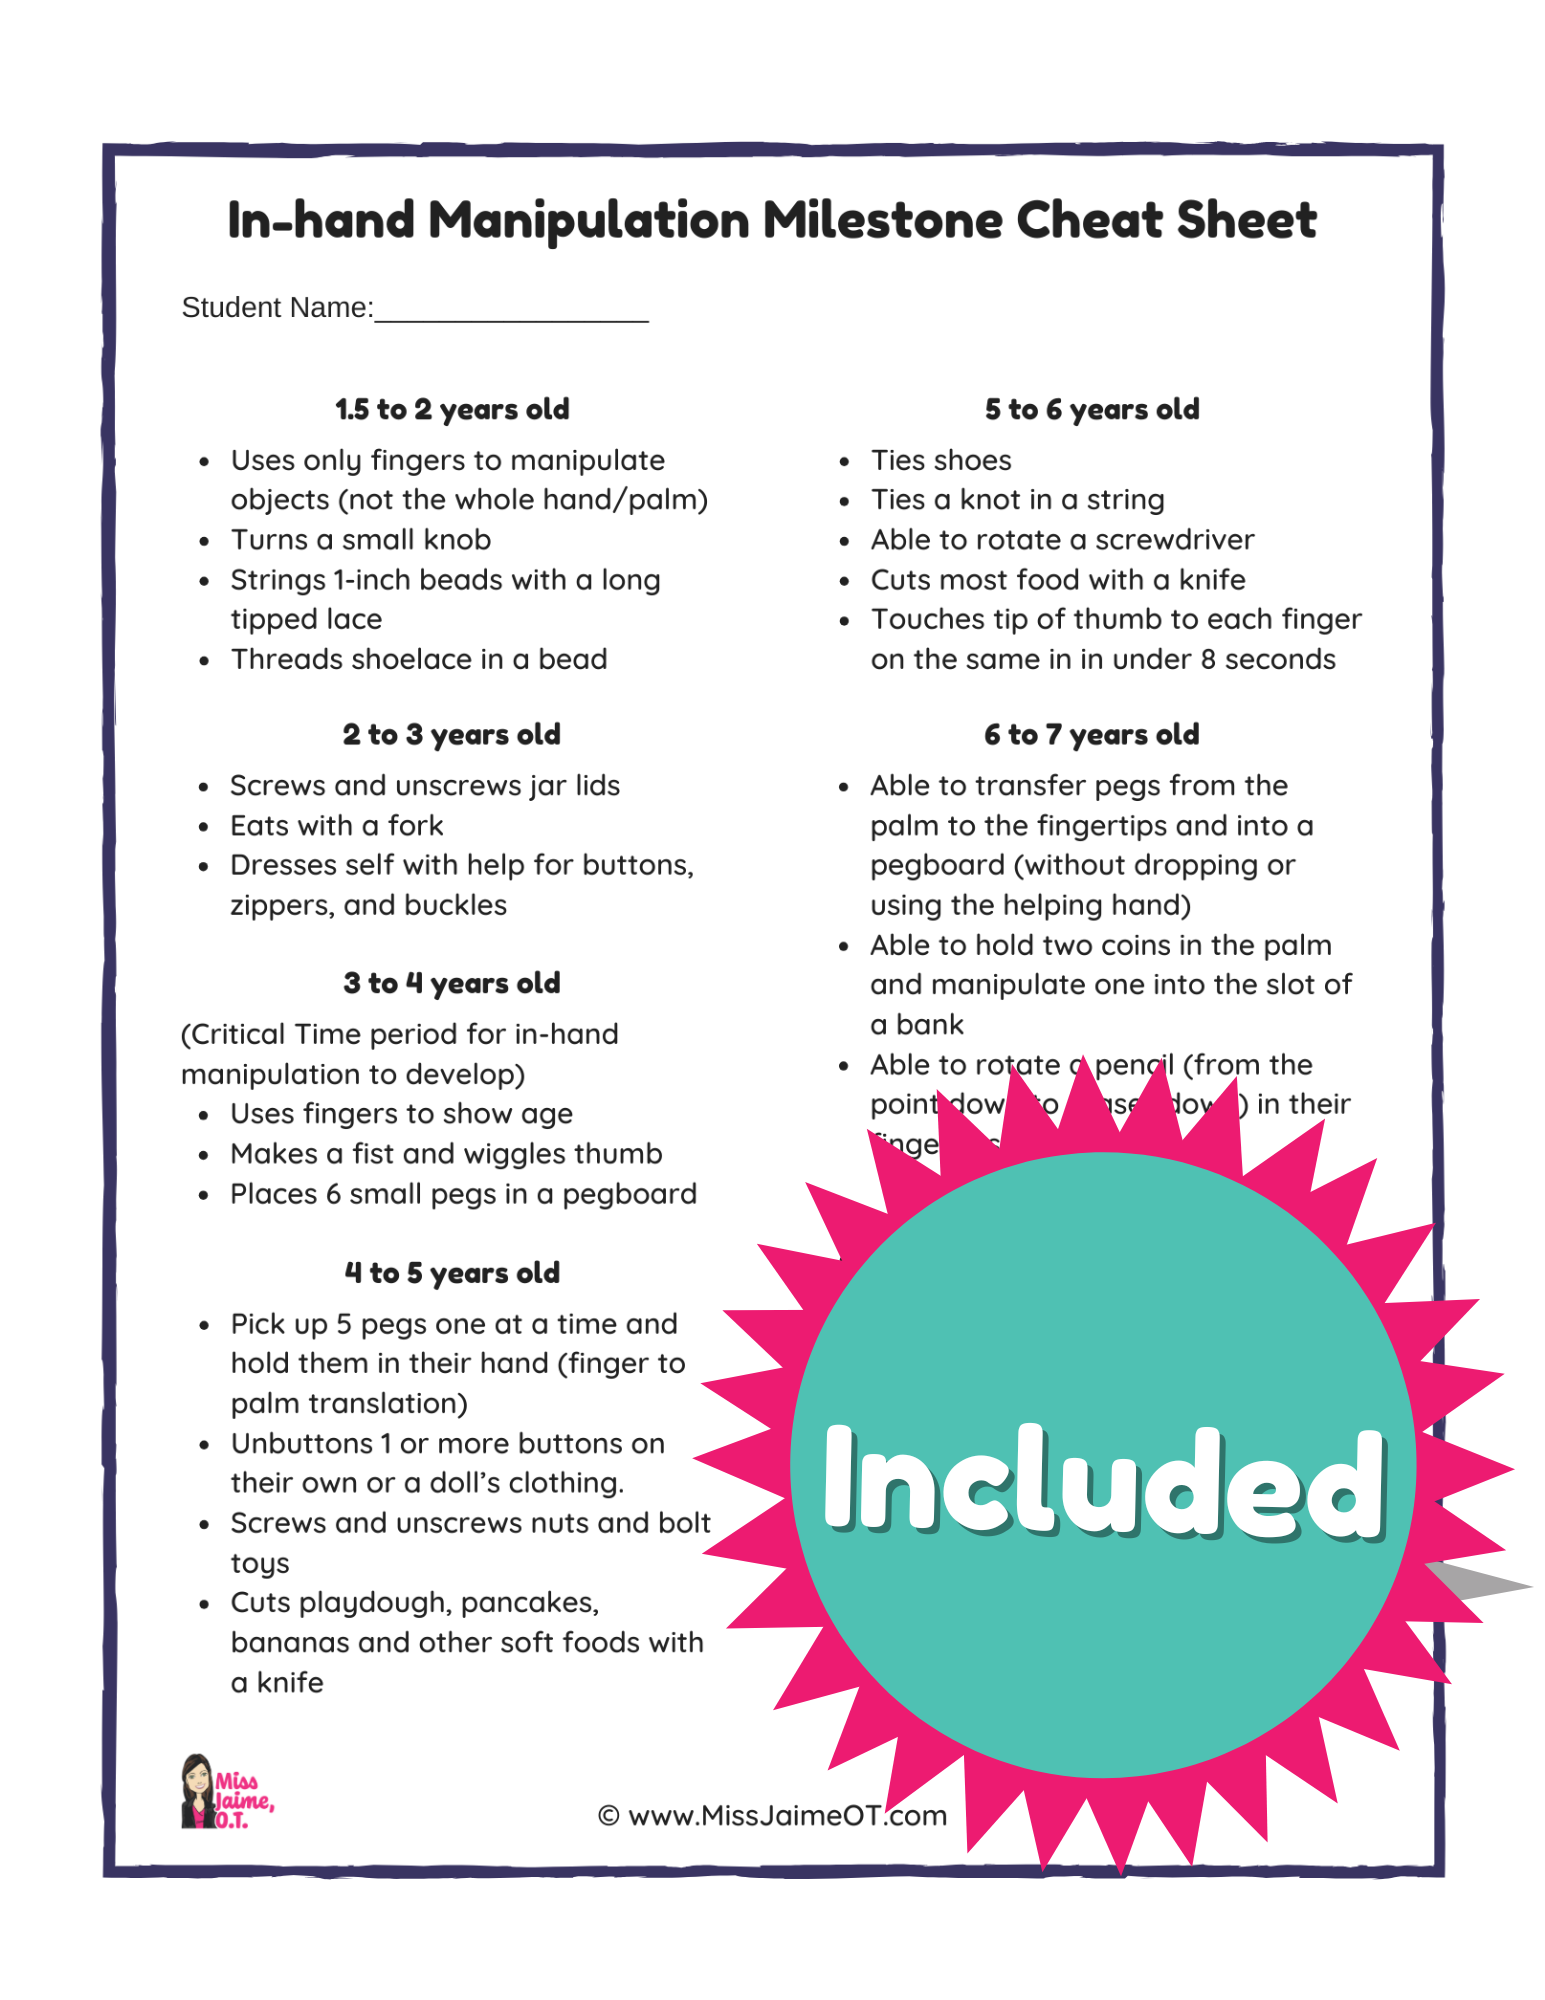
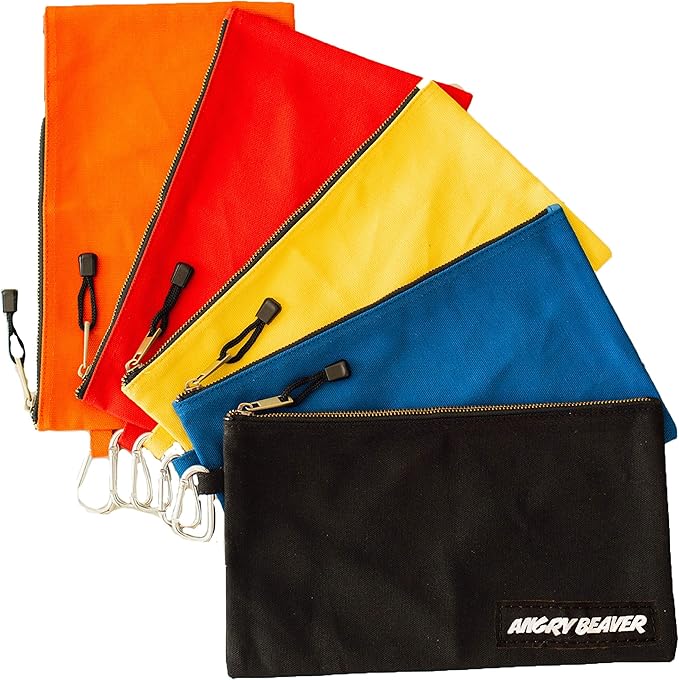
Manipulation Dot Activity Packet I really like to have everything clear and see-through so I can get what I need quickly, so I buy clear zipper packets from the dollar store. I keep one in the very back section with construction paper and different kinds of writing paper. I also keep my laminated “Manipulation Dot Activity Sheets” in this spot because they are the perfect “starting” activity. I like to pull this out and keep my kiddo busy while I get out their folder and organize my materials for the session (perfect for the kid that keeps asking, “What are we doing today? What did you bring today!?”) I laminated the sheets, and they’re also perfect for keeping track of my kids’ fine motor practice.
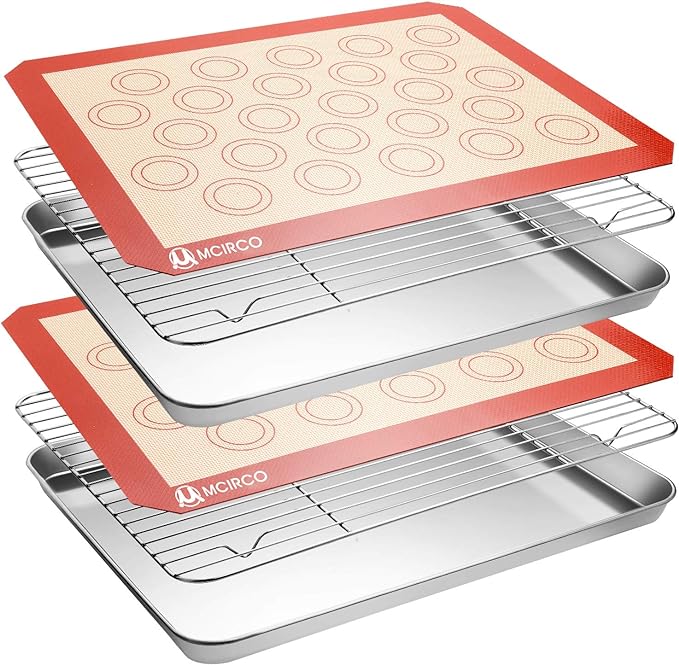
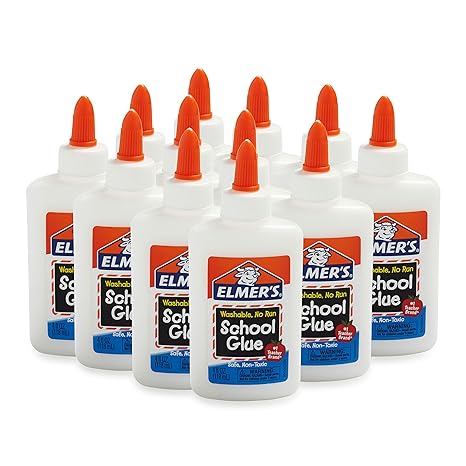
The Cookie Sheet I use a cookie sheet 75% of the time when I work with students in their homes. It’s the best dollar you’ll ever spend. It keeps messy therapy materials (like putty) in one spot and is simple to clean up glue, paint, or shaving cream. Kids LOVE tactile sensory activities like slime or shaving cream, but parents don’t want the mess. A cookie sheet is an easy fix. Just make sure that you can use the kitchen or bathroom sink to rinse it. The cookie sheet also makes a quick magnetic surface—perfect for magnetic letters, tangrams, or puzzle pieces. Put it on the floor and have the child lay on their belly to encourage weight-bearing into the upper extremities. Or, place it vertically against a wall to encourage mature grasping patterns and separation of the hand and fingers from the whole arm. I also put “chalkboard” paper on the back of mine so I could use it as a blackboard.
The Back Section of my Therapy Bag
This is the part where they think you’ll put your laptop. It’s pretty skinny, but I fit my student’s folders in there. I use colored folders so I can grab the one I need quickly and get right to work.
The Middle (Largest) Section of my Therapy Bag
In this section, I put my toys, games, and “big stuff”. I like to change out these items to keep things fresh and exciting for the kids. But, there are some things you are guaranteed to find in this section.
- Travel-sized games: The smaller size helps me to fit more in my bag. Plus, the pieces are smaller, requiring little fingers to grasp more precisely. Win-Win. My favorite travel-sized games are Connect Four, Rush Hour, Trouble, Guess Who, Perfection and Cards. For older kids, I like Battleship, Checkers, Shape by shape, and Tricky Fingers. (Heads up for my bargain hunters – 5 and Below often has imitations of these games for just 5 bucks!) You can read about the therapeutic benefits of Rush hour here.
2. Fine Motor Toys That Require Two Hands: Many children have difficulty with fine motor skills and bilateral coordination, which is the ability to use two hands together. Toys that work on both of these things at once are a Must-Have. Some of my go-to picks are Legos, Stringing Toys, Lacing cards, Nuts and Bolts, Pop-beads, a pegboard and Bunchems
3. Puzzles Many children struggle with spatial awareness to put puzzles together. Kids should start doing jigsaw puzzles (not inset) around the age of 4. I like the Dollar Store jigsaw puzzles with a back because the back has an outline of the shape, which is a visual cue for kids. If that outline isn’t enough, I also label each spot with a letter, shape or number, and then put a matching label on the correct piece. These puzzles also fit nicely in a zipper pocket folder (and you don’t lose the pieces).
4. Some kind of game with letter pieces. Such as Scrabble, Applets, Pears to Pairs, etc. These tiny letter tiles are great for working on letter recognition, handwriting, or anything else!
5. An ice cube tray. Weird, I know. But the ice cube tray is a favorite of mine. I like how it has tiny compartments for little fingers to “pinch” and put stuff in. Use a grabber and manipulatives and the possibilities are endless–do patterns, roll dice, and count to put that number in the next spot, etc.
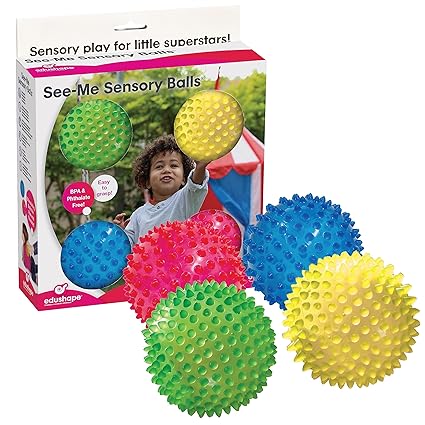
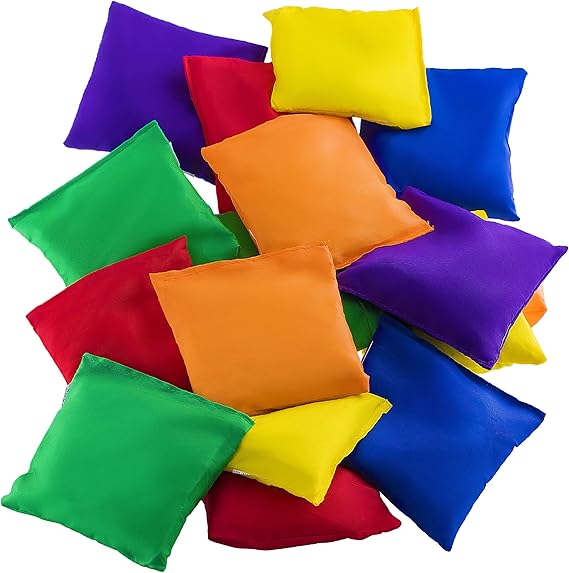
6. Gross Motor Supplies: A handee band, a ball, and a beanbag. These are small but they are multipurpose- and can be used in a ton of ways.
Front Section
My front section stays pretty consistent. This is where I keep my clear pencil cases, crayons, markers, fine motor/manipulative supplies, etc.
Pencil Case Pouches: Clear ones save time! Here’s what I have:
-
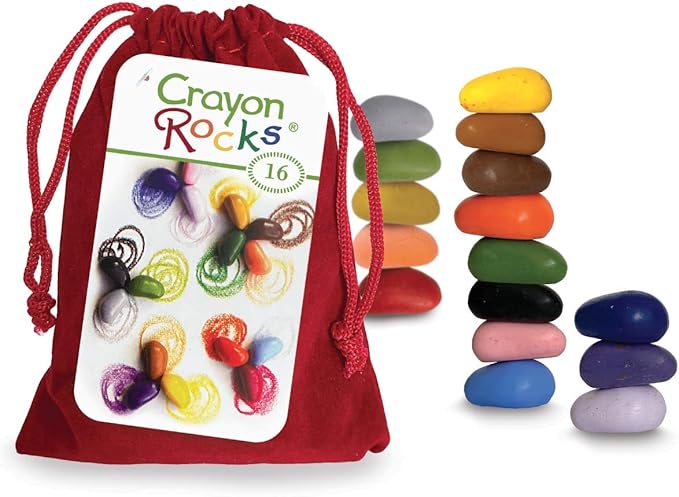
- Markers, colored pencils, crayons: The smaller the better. I love Pip-Squeaks from Crayola. Again, they take up less room and promote more mature grasping patterns.
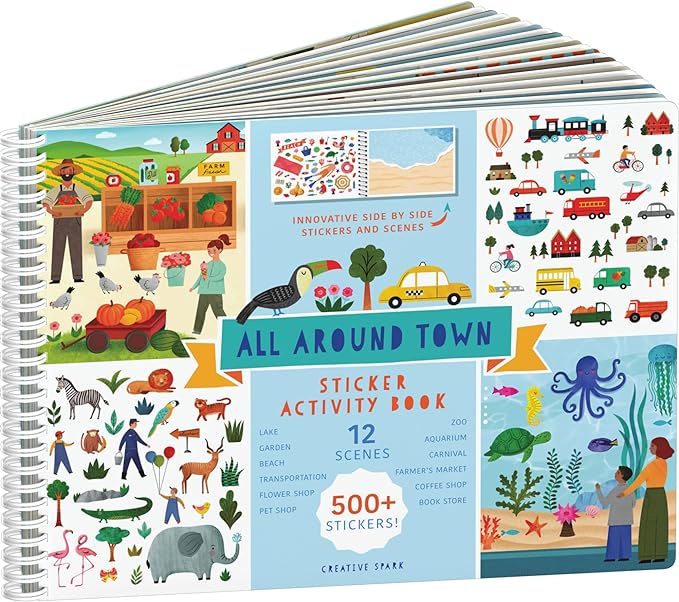
- Stickers: Big stickers, little stickers, big dot stickers, little dot stickers. Wootape and Looseleaf reinforcers, too. Peeling stickers is an AWESOME fine motor and bilateral activity for kids. I like to use them as “spaces” in-between words, “start spots” to show kids where to start letters, or “turn spots” when kids are trying to learn how to cut on corners. I like to use them to work on letter recognition with the Manipulation Activity Packet. And of course, they work great as rewards!
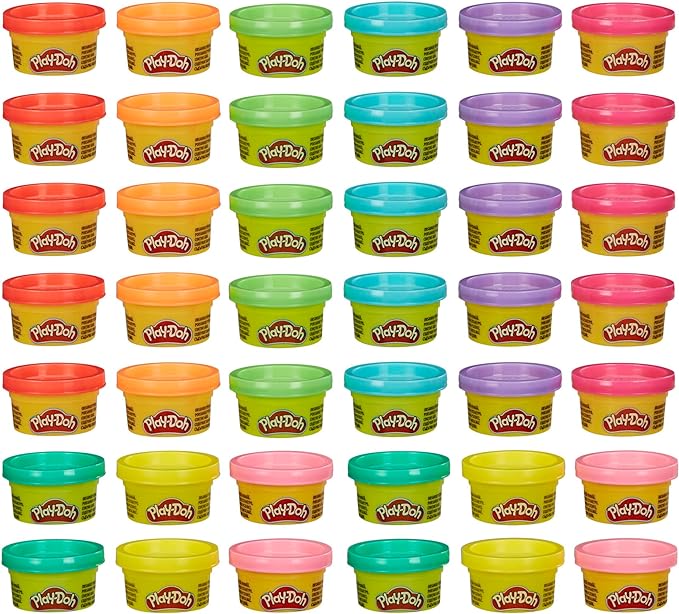
- Playdoh and putty: Kids always love these things. I love to use it as a reward or an incentive for kids who are reluctant to begin therapy. They are also great for hand strength and sensory play. I like travel size putty because I don’t mind throwing one out if it gets boogies in it!
- Travel size shaving cream: A little goes a long way!
- Manipulatives: Again, I like to keep these in little clear plastic containers so I can see what I’m grabbing. In here you’ll find:
- jax
- dice
- pennies
- marbles
- magnetic bingo chips
- squeeze toys
- wind up toys
- small pegs
- small stamps and stamp pads
Side Pockets
My backpack has two side pockets, which I love. I found that I was kind of forgetting about them, so I made some labels and put things that I don’t need all the time.
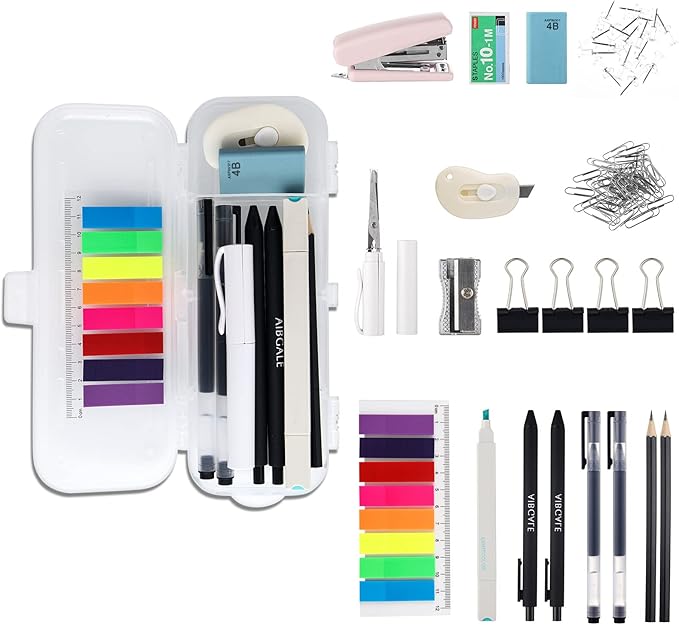
Side pocket #1: A tiny box with office supplies. I got this at a conference once as a “gift,” but I recently saw them at Dollar Tree! I bought four. Now I have one in every single bag and in my car. It literally has every office supply you could need in a quick fix. Even a stapler.
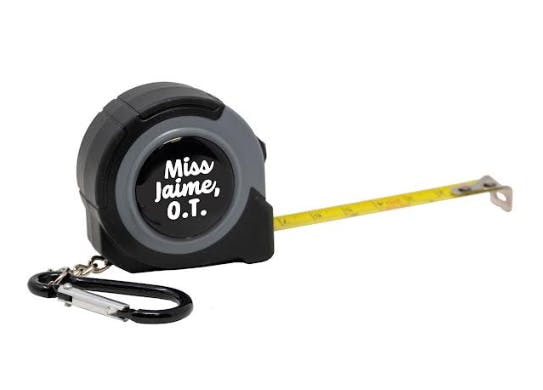
- A tiny measuring tape. This is more useful than you’d imagine!
- Keep track of things like how far a kid can jump, how big are the floor tiles (because then I can calculate how far they ran, etc), how far is this spot from the target on the wall, etc.
- Measure how big chairs, desks, and tables are. Teachers often ask me to look at the furniture in the room, and this way I can say, “it’s too big, you need a 12-inch chair.” Then, the teacher knows exactly what to ask the custodian for.
Side pocket #2: A multipurpose tool. This little guy has a hammer, knife, pliers, file, and screwdriver. I use the hammer in therapy sometimes (my kids love to bang golf tees into a pool noodle or pushpins into a corkboard), and the other things I often need in a pinch. The screwdriver is great for loosening tight scissors and the knife opens or cuts cardboard boxes.
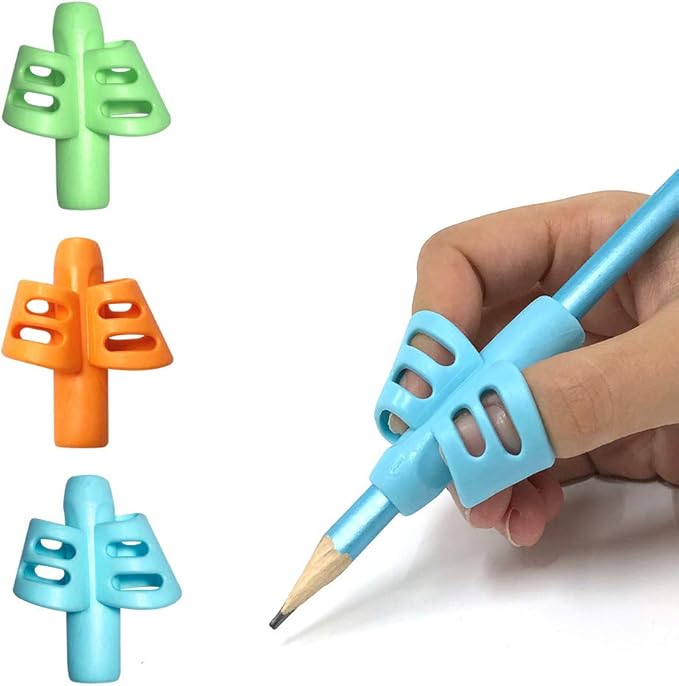
Pencil grips—I’ve got to have these on me!
Shoelaces—in case we need to practice tying and my kids only have velcro.
And that’s it! You can fit a ton of stuff if you organize it right—I also keep a trunk organizer in my car with extra toys so I can swap them out when I need to.
KEY POCKET
My backpack has a tiny pocket at the top of the front section—it’s meant for keys, I think. (Or money?). Anyway, I keep small pencils in there, and two tiny playdoh containers that I use to keep sponges and chalk.
The Very Front
My backpack also has a mesh front section in the very front. I used to keep my scissors there, but inevitably, they end up cutting the fabric. So now I keep hand sanitizer and a roll of packing tape in the front. I love packing tape because it’s so sticky and strong. Most often I use it to tape things to the wall or a sliding glass door—to add a vertical surface to our therapy session Worksheets, pegboards, and dry erase boards tape easily to the wall. Working on a vertical surface is great for fine motor skills and for encouraging mature grasping skills.
What do you keep in your therapy bag?

Great post Jaime! Your bag sounds a lot like I used to use when working in the schools. My choice of bag was one of those heavy duty travel bags tour companies give out like Trafalgar. Strong straps and easy to view the items too. Love your idea about a rolling back pack!
Hi, Molly! Thanks so much I hope you’re doing well.
Thank you so much for sharing. As a new(ish) OT, I find such practical tips so helpful!
Thank you Jaime, I was fortunate enough to get a covered craft cart on wheels from Buy Nothing. My bag is pretty close to yours. I agree, and will pick up puzzles and travel games (great idea!). I also love the measure tape. One more tip. I was fortunate to get a bag of colored pencil cases from one of my schools. Each color holds an activitiy (stamps and stamp pad, clothespins and string,etc).
Thanks, Rebecca, that’s a great tip!
Greetings, There’s no doubt that your blog could possibly be having internet
browser compatibility problems. Whenever I look
at your blog in Safari, it looks fine but when opening in IE,
it has some overlapping issues. I just wanted to give you
a quick heads up! Besides that, fantastic site!